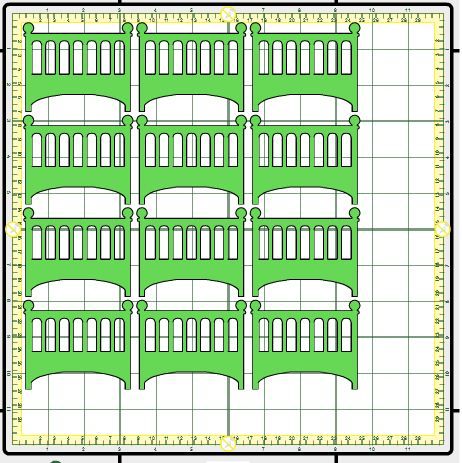
CRICUT: Tri-fold Shutter card cut file
Date: 18:52 Hi everyone,
Today I have a tri-fold shutter card cut file to share with you. But not just any old tri-fold!
I've used a template shared by Sandy Allnock. Many of you will know Sandy as the founder of Operation Write Home. If you're familiar with her blog you may have even seen the card below!
Sandy took the regular tri-fold shutter card and adapted it to make more room for writing a message. I love this version!
They are so easy to put together and so much fun to decorate! Thanks Sandy for allowing me to use your design for my cut file.
Sandy has a video showing how to fold and assemble the card so make sure you check it out!
Make sure you leave her some blog love while you're there!
It's an awesome version and I'm very grateful that she was happy for me to share it with you as a cut file!
Happy crafting! �

Today I have a tri-fold shutter card cut file to share with you. But not just any old tri-fold!
I've used a template shared by Sandy Allnock. Many of you will know Sandy as the founder of Operation Write Home. If you're familiar with her blog you may have even seen the card below!
Sandy took the regular tri-fold shutter card and adapted it to make more room for writing a message. I love this version!
They are so easy to put together and so much fun to decorate! Thanks Sandy for allowing me to use your design for my cut file.
Sandy has a video showing how to fold and assemble the card so make sure you check it out!
Click the image below to go to her tutorial.
Make sure you leave her some blog love while you're there!
It's an awesome version and I'm very grateful that she was happy for me to share it with you as a cut file!
 |
| Here's Sandy's gorgeous tri-fold card! |
Here's my version partly decorated.... I kind of had "embellishment block" at this point but wanted to share the file with you, so here it is!


Here's the links you'll need for the files:
Design Space: https://us.cricut.com/design/#/canvas/project/17628778
Cricut Craft Room: CCR Tri-fold shutter card
Alternate download from dropbox: Tri-fold shutter card
Gypsy: Gypsy tri-fold shutter card
Alternate download from dropbox: Gypsy tri-fold
Please use the alternate download link when I have exceeded my download allowance at Box.com.
Cutting instructions:
Please note, my version is just under 11.5" wide. (Sandy's is 12" wide.) That's because the Cricut can't cut any wider than 11.5" when using the standard 12" mat.
When cutting the file in Design Space, just make sure you have the scoring tool in the A tool holder. The scoring will be done first then the cutting.
When cutting the file in CCR or from the Gypsy always do the scoring layer first. (The tabs are named appropriately.)
The easiest way to score is to use your regular blade. Turn the depth down to 3 and pressure to minimum. If you are using CCR select Vinyl or light cardstock as the type of material being cut.
When the scoring layer has been done return the blade depth/pressure/material to its usual setting then do the cutting layer.
For folding/assembly instructions check out Sandy Allnocks video here: http://sandyallnock.com/trifold-shutter-card-tutorial-new-with-room-to-write
I hope you enjoy using the file!
If you're looking to chat with other Cricut Design Space users come join my Design Space Facebook group! Just click the image below and request to join. :)
We have an awesome community of amazing Cricut Explore crafters and would love to see you there!
![]()
Please remember: These files are for your PERSONAL USE ONLY and should not be shared via upload; email or in any Facebook/Yahoo/Patreon or other type of group/page.
Please don't take credit for my files and claim them as your own and definitely do not charge for them!
The files are free for you to use in your projects. You don't have to say where you got the file but I sure would appreciate it if you did!
Remember all I ask is that you become a follower of my blog using Google Friend Connect before you download the files.
Please don't take credit for my files and claim them as your own and definitely do not charge for them!
The files are free for you to use in your projects. You don't have to say where you got the file but I sure would appreciate it if you did!
Remember all I ask is that you become a follower of my blog using Google Friend Connect before you download the files.
Here's the links you'll need for the files:
Design Space: https://us.cricut.com/design/#/canvas/project/17628778
Cricut Craft Room: CCR Tri-fold shutter card
Alternate download from dropbox: Tri-fold shutter card
Gypsy: Gypsy tri-fold shutter card
Alternate download from dropbox: Gypsy tri-fold
Please use the alternate download link when I have exceeded my download allowance at Box.com.
As I mentioned in a previous post, this will be the last file I share in the Gypsy format.
Cutting instructions:
Please note, my version is just under 11.5" wide. (Sandy's is 12" wide.) That's because the Cricut can't cut any wider than 11.5" when using the standard 12" mat.
When cutting the file in Design Space, just make sure you have the scoring tool in the A tool holder. The scoring will be done first then the cutting.
When cutting the file in CCR or from the Gypsy always do the scoring layer first. (The tabs are named appropriately.)
The easiest way to score is to use your regular blade. Turn the depth down to 3 and pressure to minimum. If you are using CCR select Vinyl or light cardstock as the type of material being cut.
When the scoring layer has been done return the blade depth/pressure/material to its usual setting then do the cutting layer.
For folding/assembly instructions check out Sandy Allnocks video here: http://sandyallnock.com/trifold-shutter-card-tutorial-new-with-room-to-write
I hope you enjoy using the file!
If you're looking to chat with other Cricut Design Space users come join my Design Space Facebook group! Just click the image below and request to join. :)
We have an awesome community of amazing Cricut Explore crafters and would love to see you there!
Happy crafting! �